Linux Network File Transfer Using RCP, SCP, and Using WinSCP to Transfer Files Between Windows and Linux 5
Table of Contents
Section 1: Using the RCP Command in Linux 3
Section 2: Using the SCP Command in Linux 4
Section 3: Using WinSCP to Transfer Files Between Windows and Linux 5
© 2020 Fraser Innovation Inc ALL RIGHTS RESERVED
Without written permission of Fraser Innovation Inc, no unit or individual may extract or modify part of or all the contents of this manual. Offenders will be held liable for their legal responsibility.
Thank you for purchasing the FPGA development board. Please read the manual carefully before using the product and make sure that you know how to use the product correctly. Improper operation may damage the development board. This manual is constantly updated, and it is recommended that you download the latest version when using.
Official Shopping Website:
Section 1: Using the RCP Command in Linux
*In order to follow along to this tutorial, you will be required to have Ubuntu 16.04.01 already installed on your Virtual Machine using Oracle’s VirtualBox. Because this tutorial is geared towards Ubuntu 16.04.01, using other versions may have differences between the execution of commands.
Using the RCP command is usually the simplest way to copy files from one computer system to another, and does not require starting an FTP session or the need to log in to the remote system.
The RCP command has the following syntax and formatting:
rcp [option] [file directory] [target directory]
Where the main options are:
-p Preserves file modification and access times.
-r Recursively copies the entire directory.
Note that the file directory and target directory need to have “[user]@[host]:” prefixed before it if that specific directory is not on your local system. Where user is the user of the host system, and host is the host’s IP address.
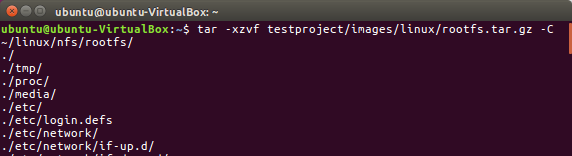
For example, if we wish to copy the file test.txt from the directory home/ubuntu/test_folder1 on the computer we are currently on and paste it to the home folder of the root account on a computer with the IP address 192.168.0.88, both computers need to have a .rhosts file in the user’s home directory with authorized users in the file. The command would look something like this:
rcp /home/ubuntu/test_folder1/test root@192.168.0.88:/home

![]()
If we were to reverse the process and copy the file from the host to the computer you are currently on, you would use the following. You can opt to not specify the target directory, which defaults for the file to be copied to your home folder. Note that there is a “.” before specifying the target directory, which you must have even if you don’t specify.
rcp root@192.168.0.88:/home/test ./test_folder2

Section 2: Using the SCP Command in Linux
Like the RCP command, SCP also copies files. Files or directories can be copied from your local system to a remote system, from a remote system to your local system, and between two remote systems from your local system.
The main difference between them is how SCP copies files in a more secure way, where both the files and the password are encrypted. The SCP command has the following syntax and formatting:
scp [option] [user]@[host]:[file directory] [user]@[host]:[target directory]
Where the main options are
-P Specify the remote host ssh port.
-p Preserves file modification and access times.
-q Suppress the progress meter and non-error messages.
-C Compress the data as it is being sent.
-r Recursively copies the entire directory.
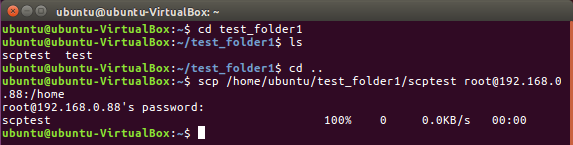
For example, if we wanted to copy a file named scptest from our local ubuntu user with IP 192.168.0.86 to the target root user with IP 192.168.0.88, we would use the following code. Nearly identical to that of the RCP command.
scp /home/ubuntu/test_folder1/scptest root@192.168.0.88:/home

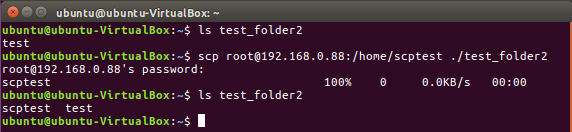
If we were to reverse the process and copy the file from the host to the computer you are currently on, you would use the following. Note that these SCP commands are extremely similar to RCP. You can opt to not specify the target directory for the file to be copied to your home folder. Note that there is a “.” before specifying the target directory.
rcp root@192.168.0.88:/home/scptest ./test_folder2
Section 3: Using WinSCP to Transfer Files Between Windows and Linux
So far, we have dealt with transferring files using nothing but the command line Terminal with a text-based interface. WinSCP provides a graphical interface that is easier to see and control. First, we would need to download WinSCP. We can do so at www.winscp.net/download.php.
After downloading and opening WinSCP, you should see the following:
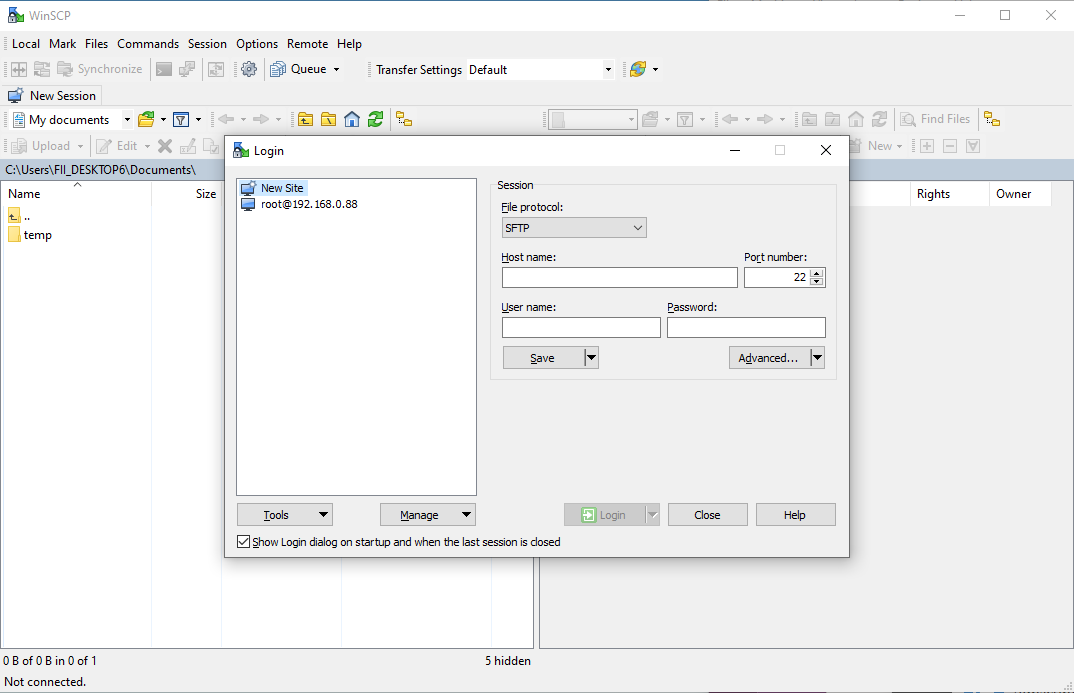
Make sure you enter everything correctly. Namely the Host name, User name, as well as Password. In this case we will be loading into the system with the user named root which we used in the two previous sections.
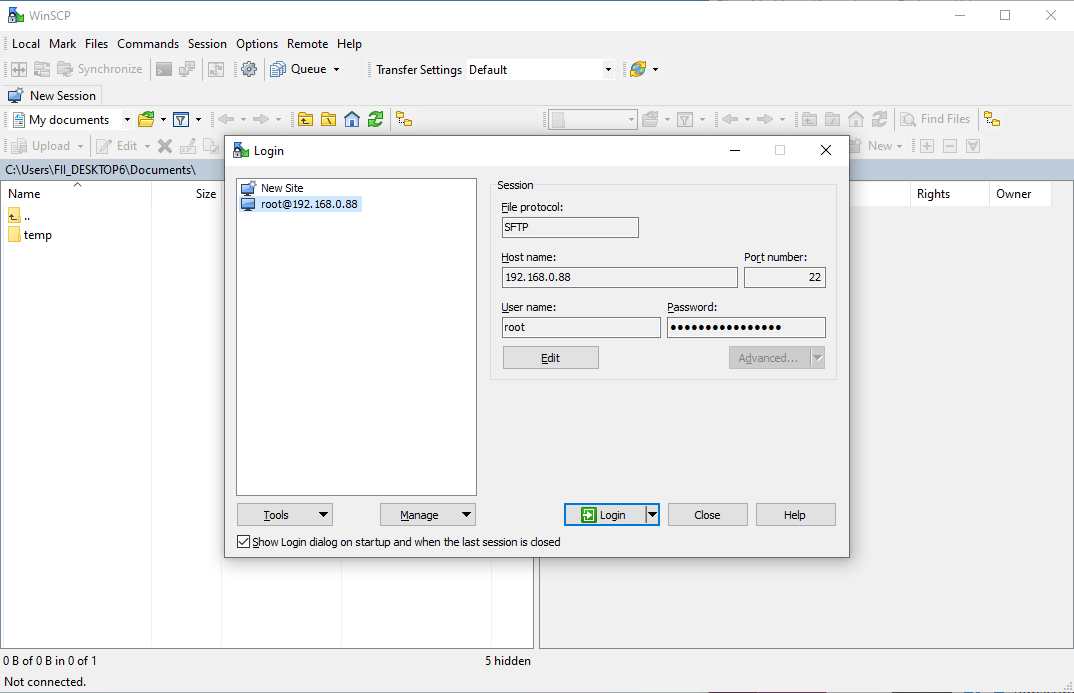
Next, press Login to initiate the connection.
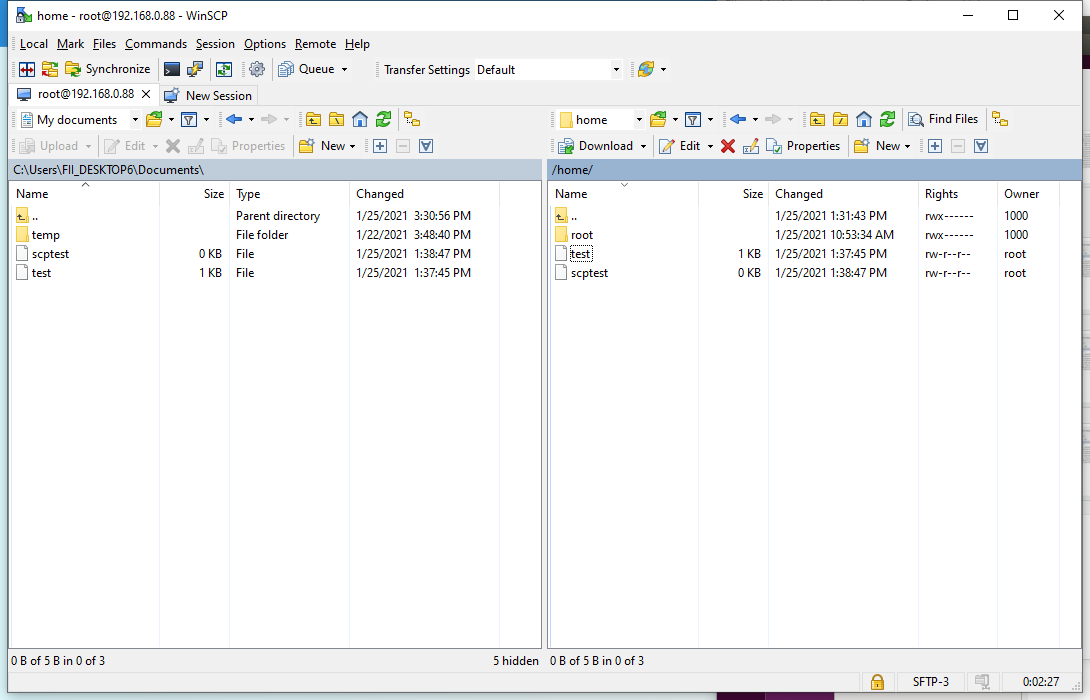
You should be able to see your Windows files on one side, and the Linux files on the other.
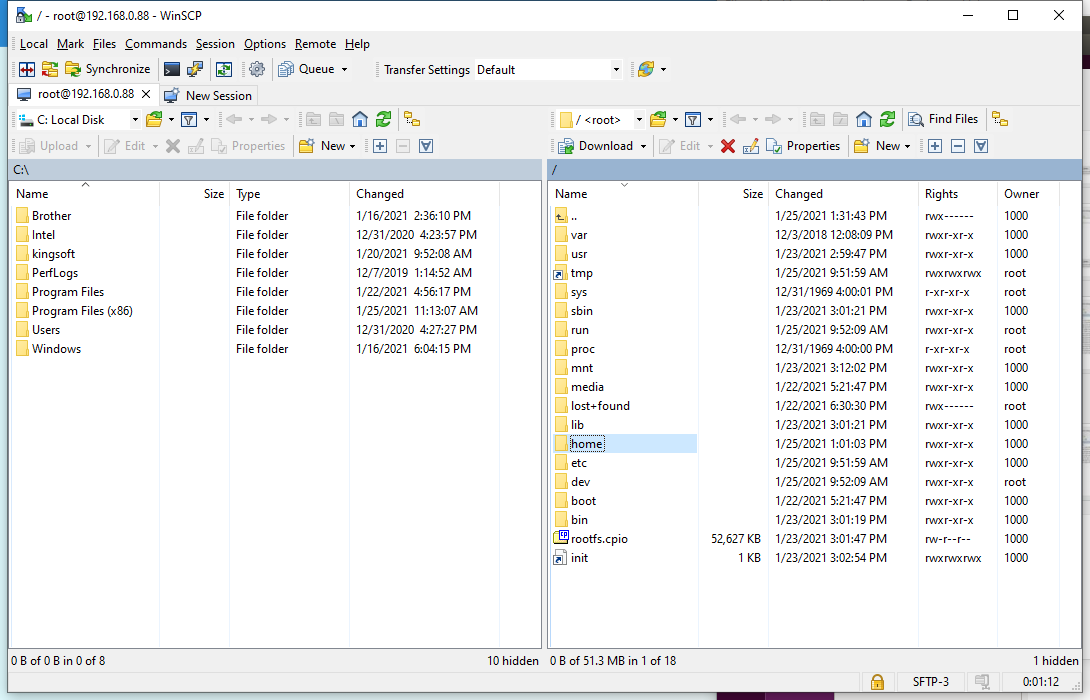
We can access the Home folder to verify if the files that we copied earlier are there.
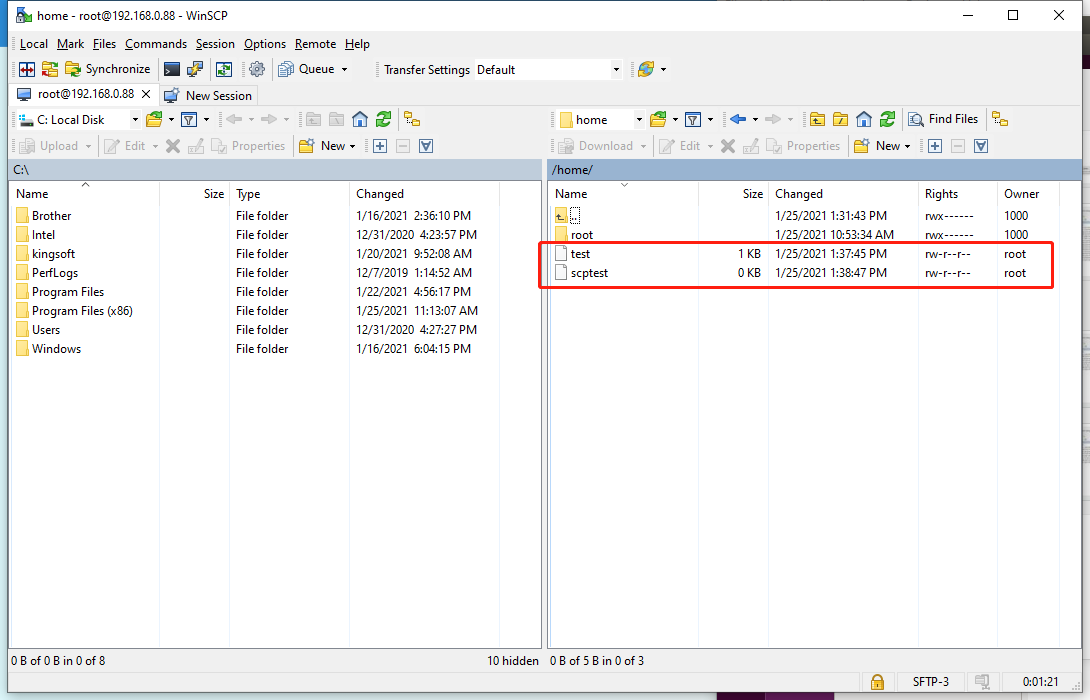
As we can see, they are indeed there.
We can proceed to copy and edit files from one side to the other freely. We will demonstrate this by copying over the test and scptest files from Linux to Windows. We can simply do this by selecting the two files from Linux on the right side, and dragging it over to Windows on the left side.
Note that we can also freely add files to Linux and be able to modify files in any way as well.